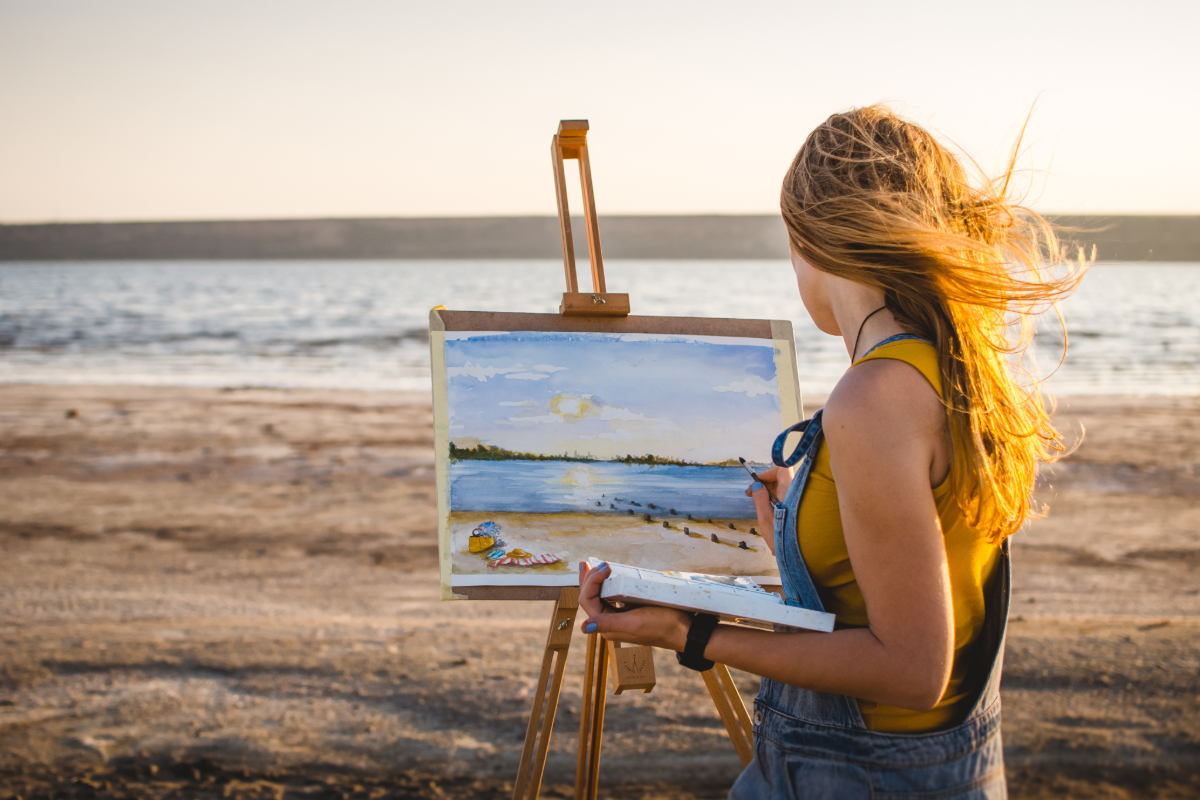
How to Photograph Your Artwork (So It Actually Gets Accepted)
Documentation Tips for Artists Submitting to Open Calls in 2026
If you’ve ever hit ‘submit’ on an open call feeling confident, only to receive a rejection email with no feedback, it’s easy to question your talent.
But often, the issue isn’t the work.
It’s the photos.
In 2026, most jurors and selection committees see your work for the first time on a screen. Not in a gallery. Not under ideal lighting. Not at the correct scale. Often, they’re viewing dozens (or hundreds) of submissions in one sitting, clicking through images that have been compressed, resized, and viewed as thumbnails before they’re ever opened full-screen.
That means documentation is no longer a “nice extra.” It’s part of the submission. It can determine whether your work gets a second look or gets passed over immediately.
The good news is that photographing your work well is a skill you can learn. You don’t need a professional studio. You don’t need expensive equipment. Most artists are using a phone camera, and with the right approach, that’s more than enough.
Why Documentation Matters More Than Ever
Historically, artwork was judged in person. A painting could be experienced at scale. Surface texture mattered. Subtle color shifts could be seen. Sculptures could be walked around. A print could be inspected closely. Today, the first round of selection is almost always digital.
Your work is being evaluated through:
- screens (often mobile)
- compressed image files
- inconsistent lighting conditions
- fast scrolling and digital fatigue
That means the photograph becomes a stand-in for the real experience. It has to carry the weight of your work.
And jurors notice immediately when the photo undermines it.
A strong painting photographed poorly can look dull or amateur. A carefully chosen palette can shift dramatically. A print can appear low-quality if the image is pixelated or crooked. Even great work can lose its impact when the documentation is careless.
The Goal Isn’t to Make It Look Better
…It’s to make it look true.
This is the mindset shift that matters most.
Good documentation isn’t about drama. It isn’t about “marketing.” It’s about accuracy.
The best submission photos are clear, neutral, and professional. They don’t distract. They allow the work to speak.
If your image draws attention to glare, warped angles, heavy shadows, or a cluttered background, the juror stops seeing the artwork and starts seeing the documentation problem.
And in a competitive open call, that’s often enough to lose momentum.
Common Mistakes Jurors Notice Immediately
If you want to strengthen your acceptance rate, start by avoiding the most common red flags:
❌photographing the artwork at an angle
❌visible glare or reflections on the surface
❌harsh shadows across the work
❌inconsistent lighting (warm on one side, cool on the other)
❌distracting backgrounds (furniture, studio clutter, frames leaning against walls)
❌low-resolution or blurry images
❌cropped edges (work not fully visible)
❌over-editing (filters, heavy contrast, extreme saturation)
❌photos taken too far away, making the work look small and insignificant
None of these mistakes mean the work is bad. But they signal something jurors pay attention to: lack of presentation control.
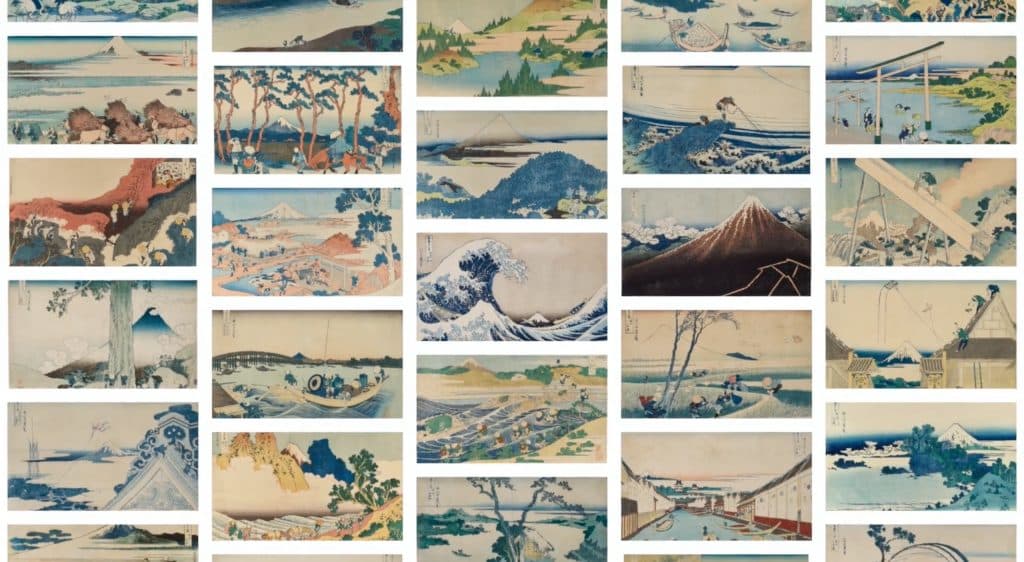
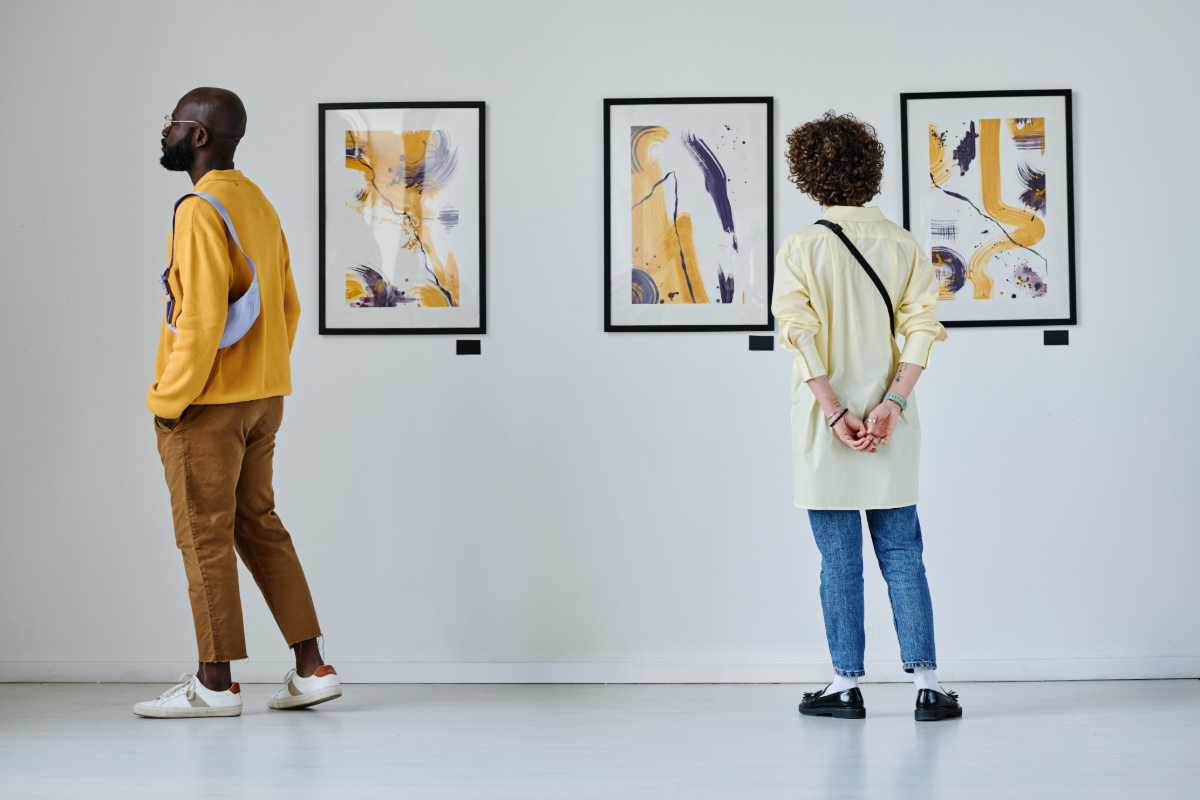
Want to see strong examples of professional documentation?
Visit TheArtList’s Featured Artist Gallery to see how artists are photographing and presenting their work across different mediums. It’s one of the best ways to train your eye for what jurors and curators respond to.
Explore the gallery here: theartlist.com/featured-artists
A Simple Gear List (Phone-Friendly)
Don’t mistake expense for excellence. A $3,000 camera won’t save a photo taken under bad light, and a $200 phone can produce professional-grade results if you master the environment. You aren’t building a studio setup; you’re building a repeatable process.
Helpful basic gear:
- a smartphone with a decent camera
- a microfiber cloth (for cleaning lens and glass)
- a neutral wall or backdrop
- painter’s tape or removable hooks
- foam board (white or gray) for bouncing light
- a tripod (even a cheap one)
- a phone tripod mount
- optional: a ring light or two soft lamps with daylight bulbs
Step One: Use the Right Light
Lighting is the difference between a professional image and a frustrating one.
The easiest, most reliable lighting for 2D artwork is indirect natural daylight.
A simple setup:
- photograph near a large window
- avoid direct sunlight (it creates harsh contrast and glare)
- aim for bright, even light
- shoot in the morning or late afternoon when light is softer
Avoid photographing at night under household lighting. Overhead lights create shadows and uneven color. Warm bulbs can shift your whites into yellow and distort your palette.
Most important rule: avoid mixed lighting.
Window light + lamp light = strange color casts that are difficult to fix.
If you must use artificial light, use two lights placed evenly on both sides of the artwork at a slight angle. The goal is balanced illumination with minimal glare.
Step Two: Keep Your Camera Perfectly Straight
If your artwork is photographed at an angle, jurors will notice instantly. Even subtle distortion can make the work feel less serious than it is.
For paintings, drawings, prints, and photography:
- center the camera directly in front of the work
- keep the lens parallel to the artwork
- make sure all edges are symmetrical
If the top edge looks smaller than the bottom edge, your camera is tilted.
A tripod helps, but even placing your phone on a stable surface (a shelf, stack of books, chair back) can improve results dramatically.
Most phones also allow you to turn on a grid in the camera settings—use it. It helps you align edges properly.
Step Three: Remove Visual Noise
Your documentation should be about the artwork, not the environment.
If you photograph a painting and the viewer sees:
- furniture
- cords
- studio clutter
- a doorframe
- your shadow on the wall
…it weakens the impression immediately.
For 2D work, the cleanest option is photographing on a plain wall.
For unframed work, consider photographing against:
- a white wall
- a neutral gray backdrop
- foam board
- seamless paper
The simpler the background, the more the work holds its own.
Step Four: Photograph the Full Piece First
Your first image should be straightforward: the full artwork, clearly visible, properly cropped, and evenly lit.
That means:
- include the full edges of the piece
- avoid cropping too tightly
- avoid cropping out corners
- make sure the image is sharp
If the work is framed, decide whether the frame is part of the work. If it is, include it. If not, photograph the work unframed if possible.
This full image is the anchor of your submission. Everything else supports it.
Step Five: Include Detail Shots (Especially for Painting)
Detail images are often what separate a professional submission from an average one.
A juror can’t see brushwork, surface texture, or layering through a single full image, especially on a phone screen.
For painting, mixed media, textile work, collage, and printmaking, include:
- one full image
- one close-up detail shot
- optional: a second detail shot showing a different area
Detail shots communicate craftsmanship. They show that the work has material depth—not just visual impact.
For photography submissions, detail shots are less necessary, but they can still be useful if the work includes layered printing, collage elements, or experimental processes.
A Note for Sculptors and 3D Artists
Even though this guide is focused on 2D work, the same principle applies to 3D: clarity matters.
If you submit sculpture or installation work, include:
- one clean wide shot (full piece)
- one angled view showing depth
- one close-up showing material texture
- optional: one image showing scale or context
If possible, photograph 3D work against a neutral background so the form reads clearly. For installation work, document the space intentionally. Jurors need to understand how the work exists in the environment—not just what it looks like.
Step Six: Edit Lightly (and Correctly)
Editing should correct the photograph, not reinvent the artwork.
Adjustments you should make:
- straighten the image
- crop cleanly and evenly
- correct exposure
- adjust white balance (remove yellow or blue cast)
- lightly sharpen if needed
Adjustments to avoid:
- filters
- extreme contrast
- heavy saturation
- “enhancing” colors beyond reality
Your goal is honesty. If your photo is too far from the real work, it creates mistrust and can cause problems if the work is accepted and later reviewed in person.
Mobile viewing test:
After you finish your edit, email the photo to yourself and look at it on your phone screen. If you have to zoom in to see the details, or if the composition feels lost in the small scale, you need a better detail shot.
Step Seven: File Size and Naming Matters
Before uploading, check the submission guidelines. Many open calls specify:
- file type (JPG, PNG, TIFF)
- maximum file size (often 5–10MB)
- naming format
If no format is specified, a safe standard is:
- high-quality JPG
- under 10MB
- at least 2000–3000 pixels on the long side
File naming is a small detail that signals professionalism.
Instead of:
IMG_2381.jpg
Use:
Lastname_Title_Year_Medium_Dimensions.jpg
It’s simple, clean, and juror-friendly.
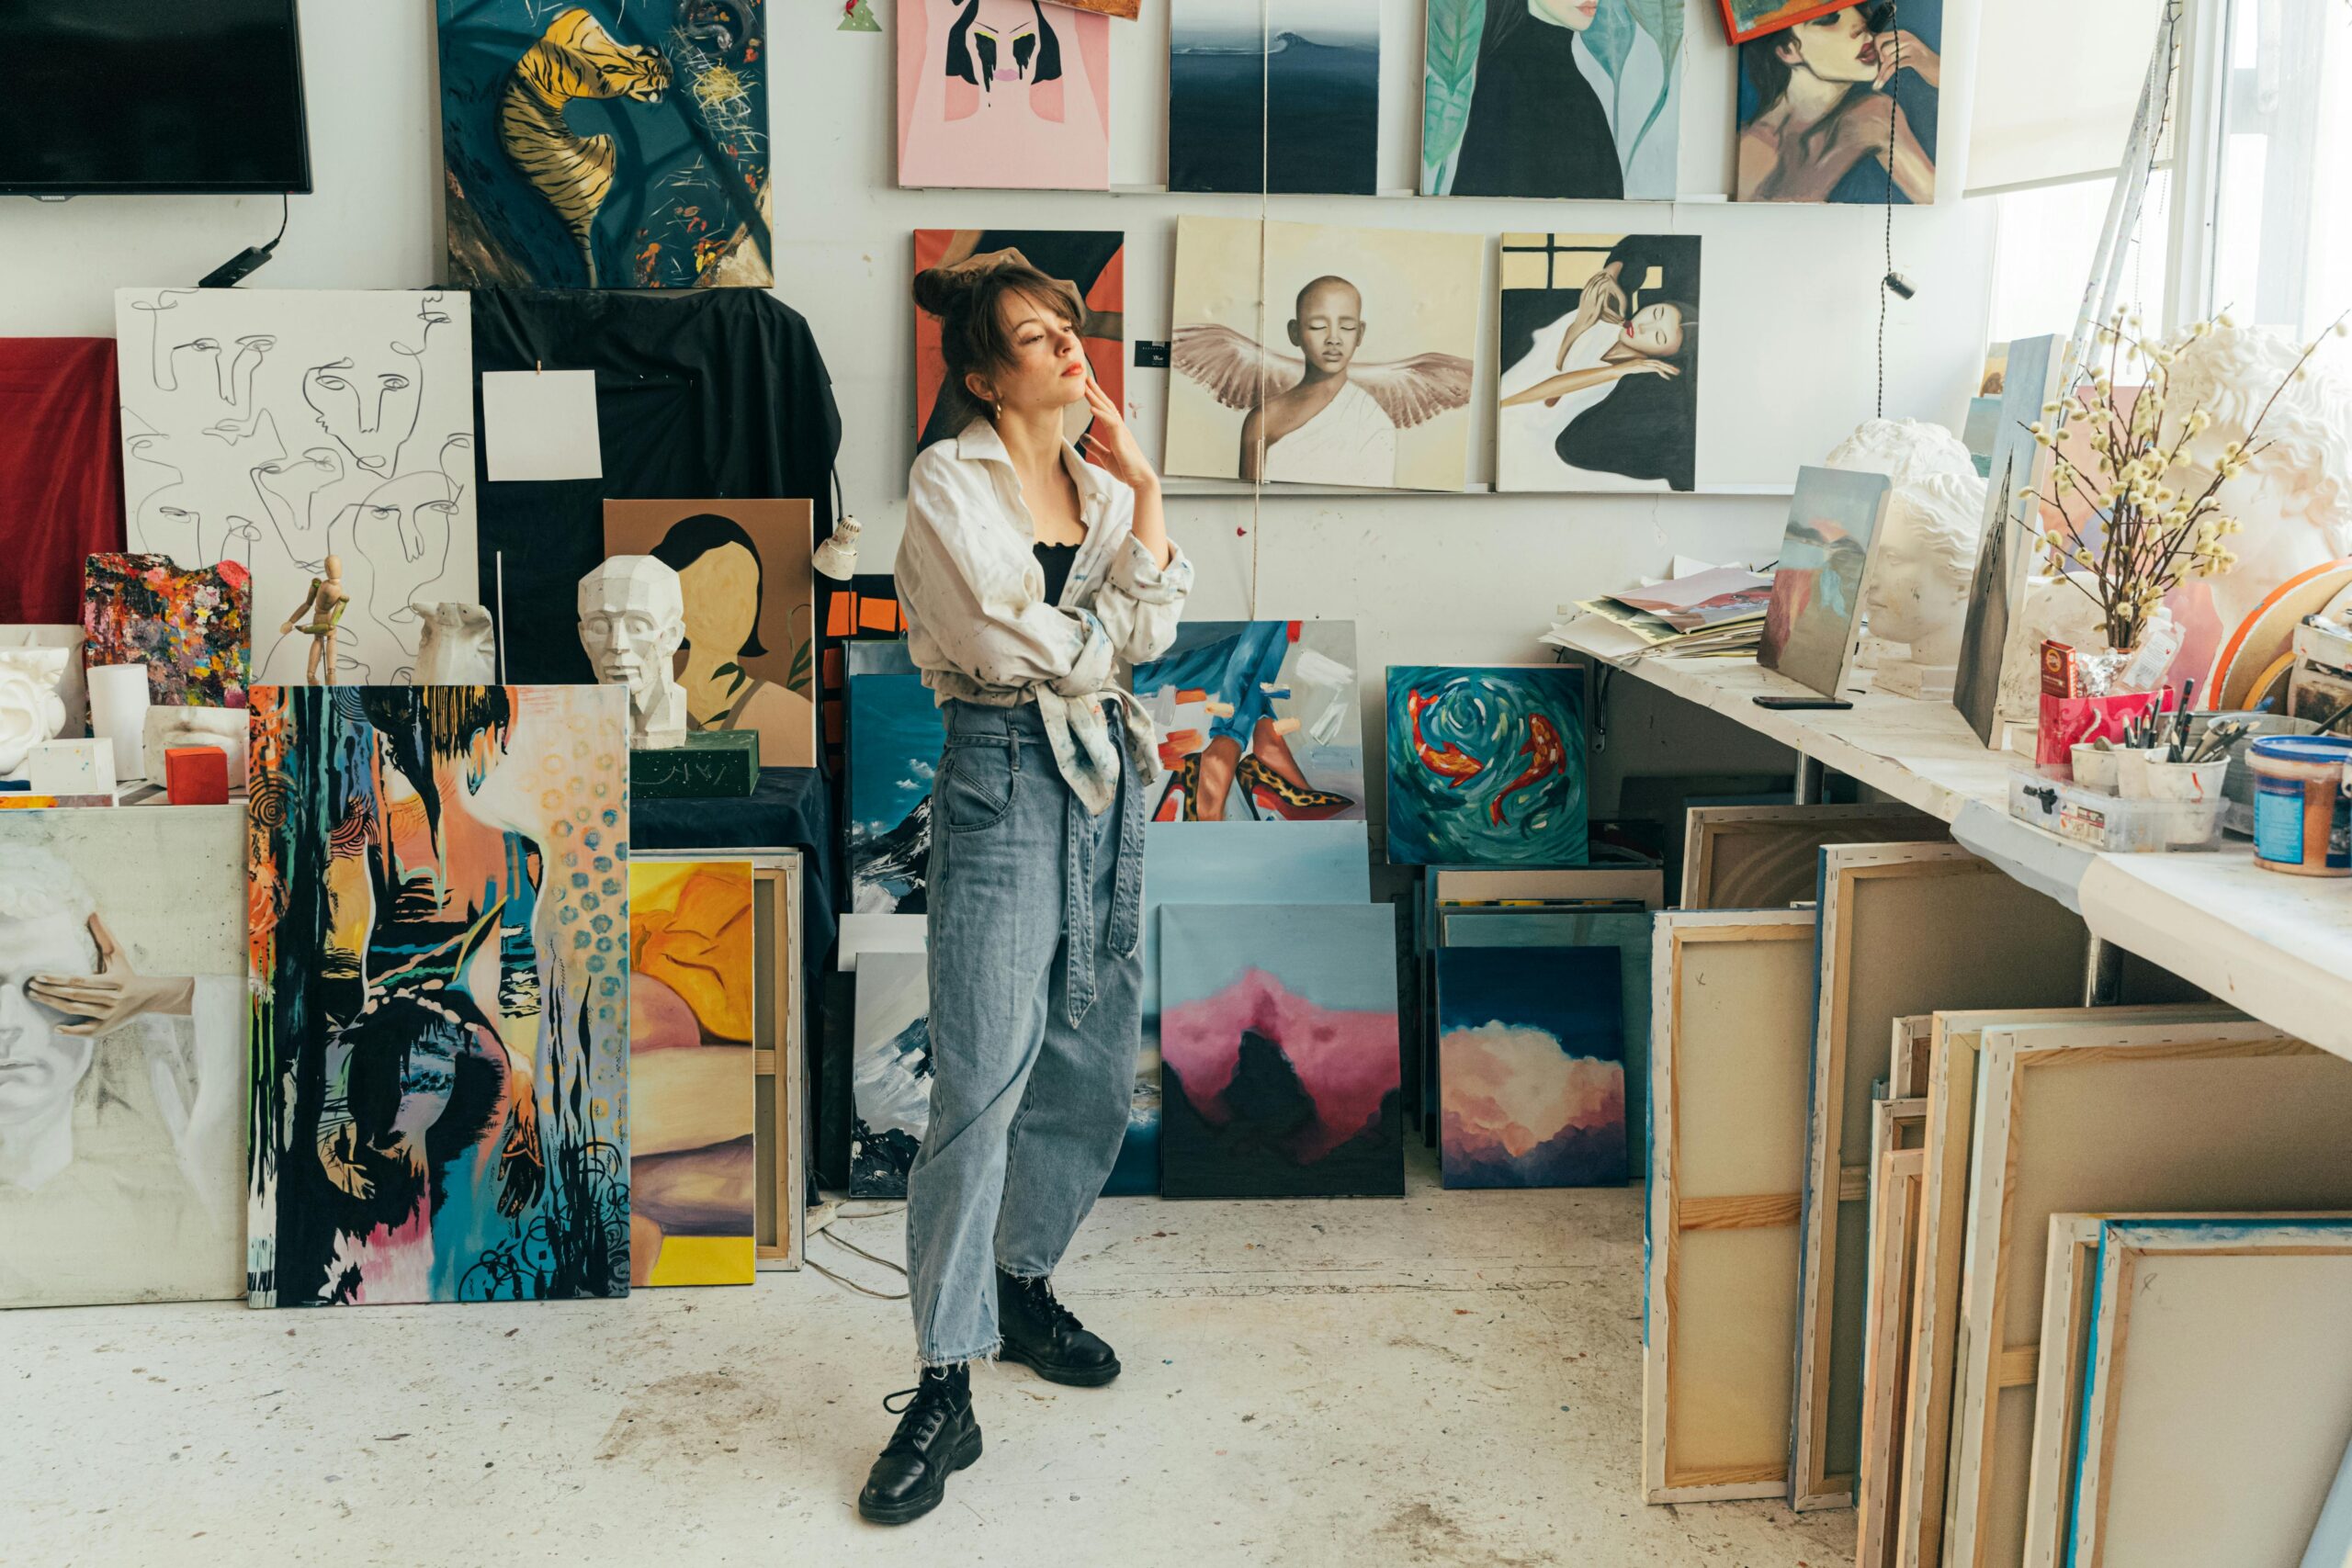
Your Website Portfolio Should Match Your Submission Quality
Strong submissions don’t exist in isolation. If a juror is interested in your work, they may look you up afterward. That means your digital presence matters.
Social media is valuable for visibility. It helps you share your process, connect with audiences, and build momentum.
But social media is not a portfolio.
Social platforms are fast-moving and fragmented. Work appears briefly, then disappears. Your website or digital portfolio is where your work lives with intention.
Your portfolio is where:
- projects are grouped clearly
- series are presented thoughtfully
- images are consistent
- your statement supports your work
- your practice feels cohesive
A clean website doesn’t need to be complicated. It just needs to be organized and updated.
🎨 RELATED READING: Your Portfolio Matters More Than Ever
Documentation Is a Career Skill
Photographing your work well isn’t a chore. It’s one of the most valuable professional skills you can develop.
Because the reality is simple:
Jurors can only select what they can clearly see.
Your documentation should help your work communicate its strength, not fight against it.
Before you upload your final images, it helps to slow down and do a quick review—because small presentation issues (cropping, lighting, resolution) can quietly undermine even the strongest work.
Before You Upload: A Quick Documentation Checklist
Before you hit submit, take two minutes to run through this list. It can save you from the most common (and most avoidable) mistakes.
✅ Is the work photographed straight-on?
No tilted angles, no warped perspective.
✅ Are all edges visible?
The full piece should be shown clearly, without cropped corners.
✅ Is the lighting even and neutral?
No harsh shadows, no glare, no yellow indoor lighting.
✅ Are the colors accurate?
Does the photo match the real artwork as closely as possible?
✅ Is the background clean and distraction-free?
No furniture, clutter, or visual noise competing with the work.
✅ Is the image sharp and high resolution?
Zoom in—if it looks blurry, it will look worse to a juror.
✅ Have you included a detail shot (if relevant)?
Especially important for painting, mixed media, textile, printmaking, and sculpture.
✅ Does the work look cohesive as a group?
If you’re submitting multiple pieces, do they feel like they belong in the same conversation?
✅ Are your files properly named?
Use a clean format like:
Lastname_Title_Year_Medium_Dimensions.jpg
✅ Did you double-check the call’s requirements?
File size limits, format, number of images, and labeling instructions matter.
Ready to Submit?
At TheArtList, artists and photographers can:
- Search open calls and juried exhibitions that match your medium and goals
- Join our mailing list for curated opportunities delivered directly to your inbox
- Enter the Artist of the Month Contest to gain recognition and expand your visibility
Your work matters. And so does how it’s presented.
When your documentation reflects the quality of your practice, your submissions become stronger and your opportunities expand.