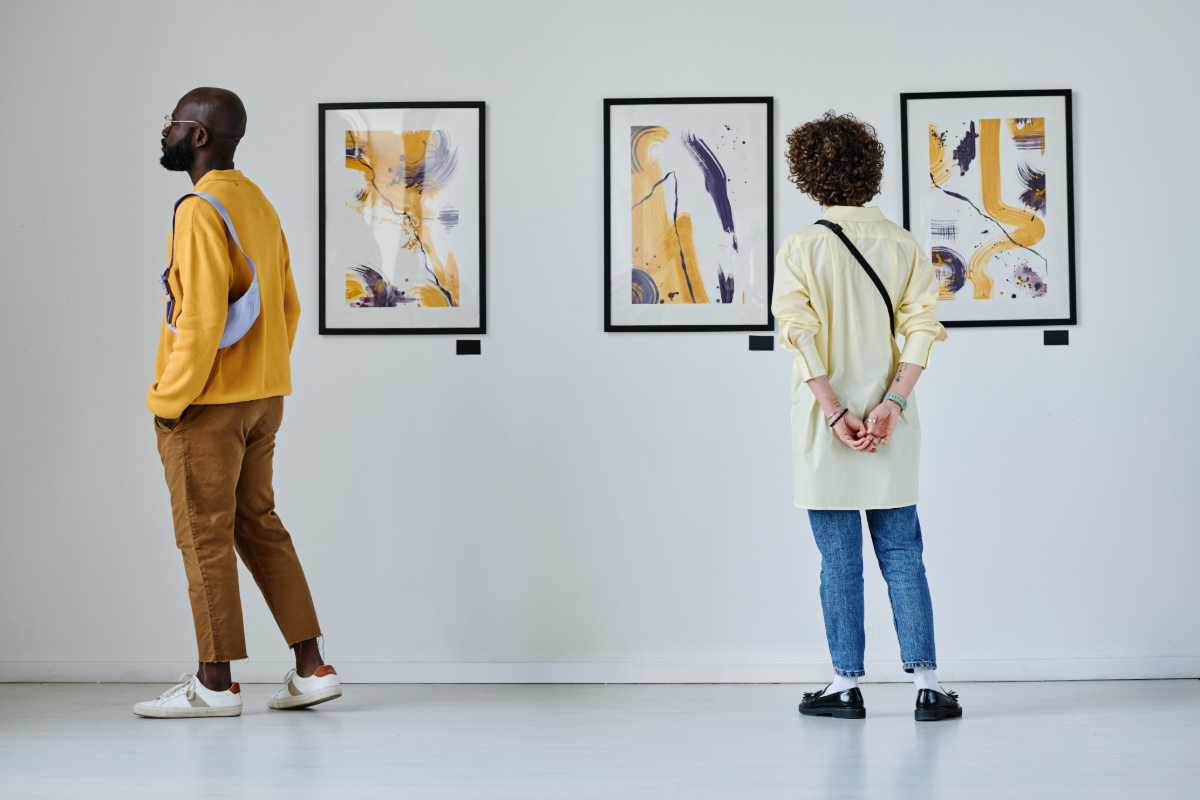
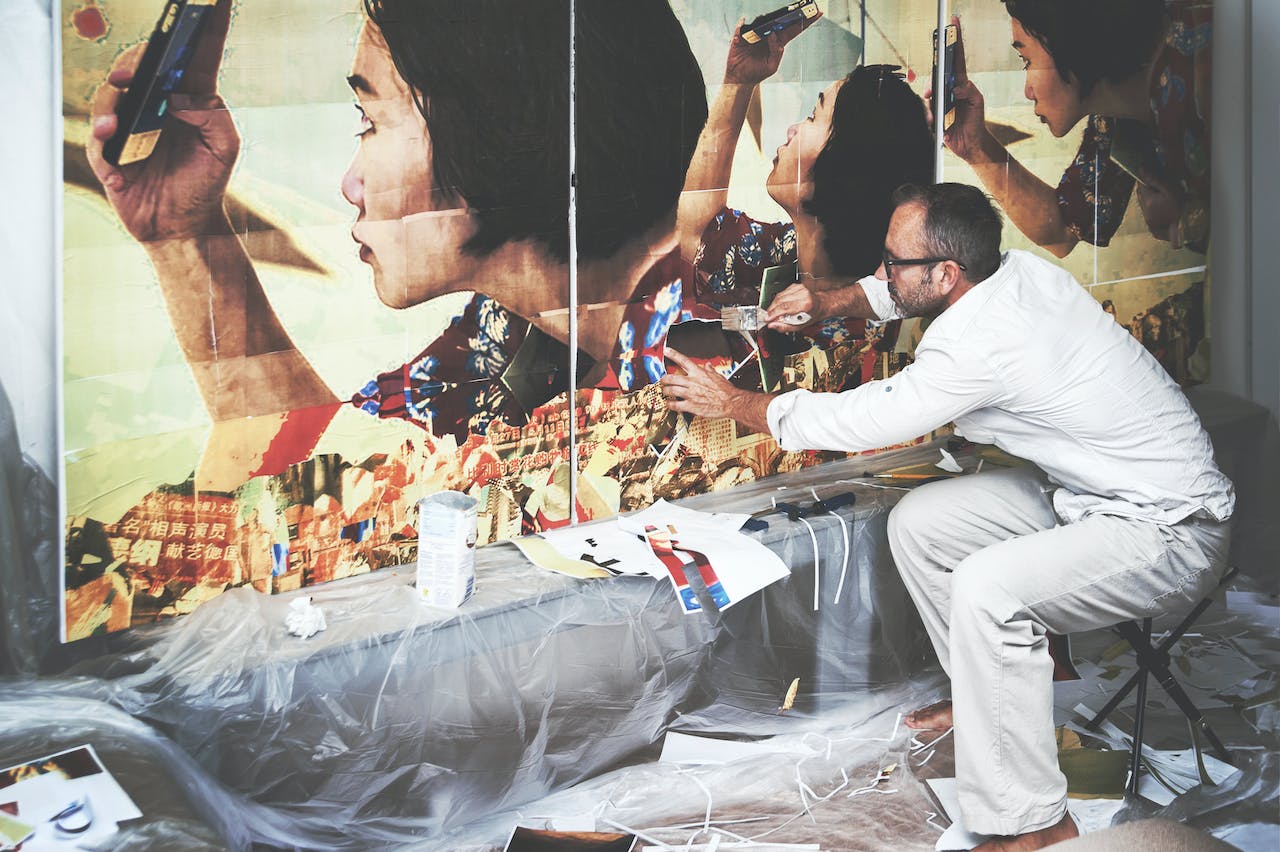
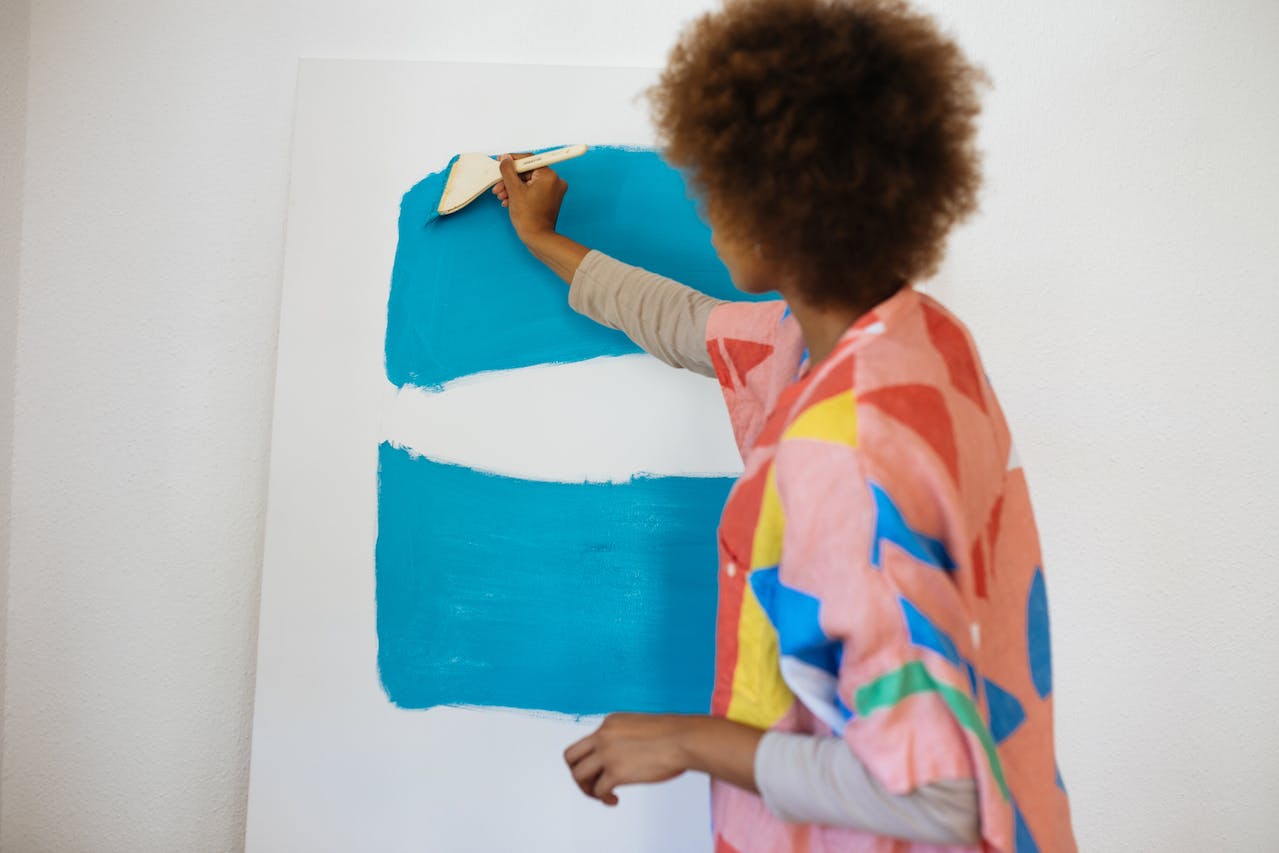
Art Marketing 101: How to Photograph Your Artwork Like a Professional
You’ve spent a lot of time and creative energy perfecting your craft. Your work is high-quality – so photographs of your work should be high-quality, too. Whether you’re putting together an online portfolio, gathering images to publicize your work, or preparing an entry for a fine art competition, it’s essential to have great photos of your artwork – and snapping quick pictures with your iPhone likely isn’t going to cut it. After all, good photography offers the first impression of your art and professionalism. Too often, artists produce incredible artwork but then have images of their work that are too dimly lit, overexposed, out of focus, or other aspects that distort the original artwork. Knowing how to properly photograph your work can mean the difference between being accepted to a show or winning the favor of a prospective client or gallery director. In this article, we’ll give you a few guidelines for photographing your artwork like a professional.
Why Photograph Your Work Rather Than Scan it?
Size: Some work is simply too large to scan. While scanning and stitching artwork together digitally is an option, it can be quite an expensive, time-consuming process.
Medium: If you’re an artist working with heavy oils, acrylics, or another medium with a great deal of texture, it may not be possible to scan your pieces accurately.
Accuracy: In addition to the reasons listed above, if you don’t have access to a high-end scanner, the images you produce likely won’t be of the same quality as a photograph.
Getting Ready to Photograph Your Work
Before setting up your artwork to photograph, gather your gear and familiarize yourself with the settings to ensure that your final images are as true-to-life as possible. Keep in mind that while you’d likely need years behind the lens to master digital photography, there are some quick tips specifically tailored to document artwork that will significantly increase your chances of getting that perfect shot. Here’s what you’ll need:
Camera
To have the best success in documenting your art, use a digital single-lens reflex (DSLR) camera. If you don’t already own a DSLR and purchasing one isn’t an option, try asking friends and family if they have one you can borrow. Otherwise, local equipment rental companies typically offer daily rentals. Your camera should have a few basic settings: The ability to select ISO (a camera setting that will brighten or darken a photo), good autofocus, and the ability to adjust white balance (or an auto-balance setting). Once you have your DSLR, follow the guidelines outlined below for the best success.
- Set the ISO to the lowest setting, 100 ISO being ideal for the best image quality.
- Set the aperture to F8 for the sharpest image quality.
- Set the zoom lens so that there is minimal distortion, around 50mm is ideal. For two-dimensional artwork, wide angles will distort the images.
- Position your camera at some distance from the object you’re photographing, and then zoom in as necessary. While this may seem counterintuitive, shooting at a slight distance will give you far greater control over the images you can take and help you maintain your perspective. You can also try different levels of zoom for various shots. However, note that when your camera switches over from “optical zoom” to “digital zoom,” you may be risking the sharpness and overall quality of your images.
- When photographing artwork, always use the RAW setting of your DSLR camera. This setting will enable you to take the highest quality images possible and allow you to work with the photos and resize them or make other changes, if necessary. If you’re not shooting RAW, make sure you choose the correct white balance for your image (for instance, “cloudy” or “daylight”).
- Turn off the flash. Flash won’t give you even lighting across the image and can also create flares.
- While you’re setting up your camera, don’t forget to clean the lens! Dust on the glass will mess with your camera’s automatic focus and may also appear in the photos.
Tripod
Any movement will produce blurry images. Therefore, a tripod is an essential tool for taking a good, in-focus photograph of your artwork. Don’t have one? Set your camera on something solid, like a table, a shelf, a stack of books, a stool – anything that gives your camera stability.
Lighting
Having the ideal lighting conditions is an extremely important aspect of taking professional photographs. To produce the best pictures of your artwork, use bright, indirect natural lighting (cloudy days make for the best photoshoots indoors and outdoors) or natural light fluorescent bulbs. Avoid mixing light sources as different light bulbs give off different colors as you’re setting up to shoot. It’s also important to avoid direct sunlight since it creates hotspots in images. If you’re planning to shoot in a room with too much natural light, you can soften the glare by hanging white sheets over the windows.
The Process of Photographing Your Work
Now that you have your materials, it’s time to get started so you can have professional-looking photos when you need them.
1. Avoid glare and reflections.
While framed artwork is pleasing to the eye, it can be an absolute nightmare to photograph because of all of the reflections the glass produces. For best results, take your work out of the frame before photographing it, or photograph your work before it’s framed. If you can’t, angle the camera to minimize glare.
2. Shoot flat and straight.
Find a neutral-colored wall (white, black, or gray works best – brightly colored walls can reflect colors onto your art) and hang your artwork at a height where the middle of your piece will be parallel to where your camera will be – either on a tripod or resting sturdily on a table or other surface. If hanging your work isn’t an option, you can also lay it out on the ground, so it’s completely flat, and then position your tripod accordingly. Remember, the camera lens should be exactly perpendicular to the center of the piece you’re photographing. You also want to place your camera so that the frame is filled with most of the painting, with a bit of background that you can crop out later.
3. Use your camera’s timer or a remote.
You’ve taken the time to get the settings on your camera just right, you’ve hung your work in the perfect position, and your camera is directed towards the center of your piece – the last thing you’d want to do at this point is to take a sloppy photo! Instead, set the camera’s timer or use a wireless remote camera trigger so you don’t have to touch the camera at all to take a picture, which will prevent shakiness.
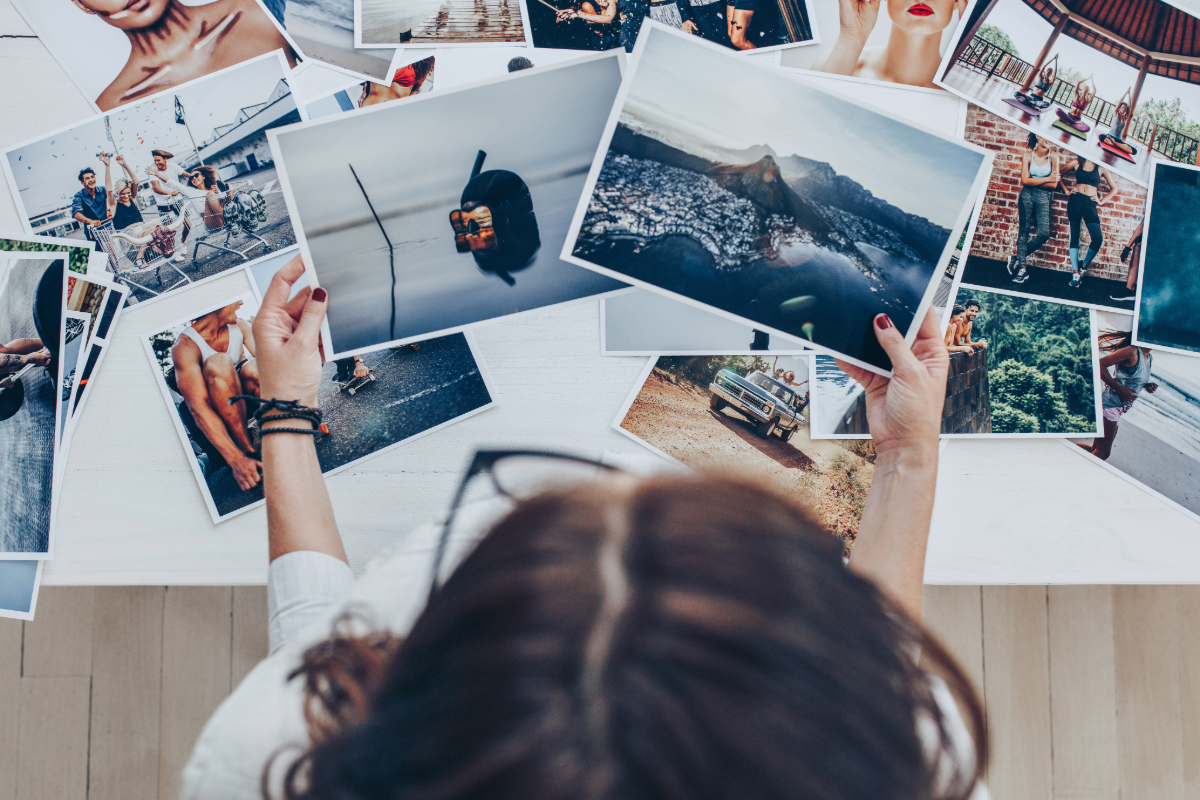
4. Take multiple shots and choose the best after your session.
The most significant benefit of digital photography is that you can take hundreds of images without adding to the expense or difficulty of the session. It’s a good idea to take many photographs to choose the best ones after your shoot. Don’t trust the preview on your camera’s screen; it’s much too small to display details. Sometimes images can look perfect in preview mode but can be overexposed or blurry.
5. Maintain consistency in your portfolio by shooting multiple pieces during a single session.
The best way to ensure consistency throughout your portfolio is to take photographs of each piece in the same photoshoot. It may be tempting to photograph your work the minute each piece is complete. However, when taking photos under different conditions, you’ll have inconsistent photos, which can be incredibly distracting.
Editing Your Photographed Artwork
After photographing your work, the best-case scenario would be that the only editing required is cropping. However, there are instances where the lighting is a little off, or the colors don’t quite match the original artwork, in which case, a touch of editing can help. While there are many photo editing software out there, Adobe Photoshop and Lightroom are ideal for polishing professional images of your work. Here are some basics you’ll want to keep in mind as you’re editing your photos:
- Remember, shooting in RAW format will give you greater editing power.
- Label your photographs clearly and consistently. For instance, the title of the work, medium, dimensions, and year are all bits of information you’ll likely need to attach to these images at some point, so if you include them in the image title or description now, you’ll save yourself time and effort later.
- Make sure your images are cropped correctly. Also, be on the lookout for shadows, tape, or anything that shouldn’t be in the photos.
- Adjust the brightness, contrast, and vibrancy to match your original work accurately.
- After editing, consider printing a few high-quality samples from a high-end printing service, like Printique, to check the resolution and color of your images.
While you’re editing your images, it may be tempting to pump up the vibrancy, brightness, or saturation, but remember, you’re trying to create the most accurate representation of your art. Also, keep in mind that computer monitor settings differ from screen to screen and are sometimes set to high-contrast values and are often very bright. This is why printing a sample can be an excellent way to ensure everything has gone to plan.
At TheArtList, we’re passionate about helping artists thrive in their careers. Subscribe to our Artist & Photographer Mailing List so you won’t miss any upcoming blog posts. You’ll also receive our monthly newsletter showcasing our Artist of the Month contest winners and art calls delivered directly to your inbox!
And if you’re an art gallery, museum, or organization looking to promote your art calls, contests, exhibitions, or events, subscribe to our Submitter Mailing List. You’ll receive our monthly newsletter showcasing some remarkable up-and-coming talent, as well as the occasional discount on our promotional packages!